
Setting up Cura for beginner - 2020

 Setting up Ultimaker Cura 4.7 for beginner - 2020 

About Cura software:

Cura is the most commonly used slicer software for FDM 3D printing. It’s an advanced, open-source, and free to use 3D printing CAM software. It has more than 400 different settings to print  3D models. Not only cartesian system printers, but it also supports core - XY, delta printer, etc with great flexibility. Most of the printer specifications are predefined in Cura and also offer to set up custom printers - which one is great flexibility and helps full feature for enthusiastic people who would like to build their own 3D printer!! To install the latest version for windows, mac, or ubuntu, click here.

Setting up cura :


After downloading and installing cura for your suitable os version, it will show you a similar setting many while opening for the first time. You need to select your FDM printer from the given brand list. If your printer model is not displayed here, don't worry. You can also set up it for custom printer settings. 

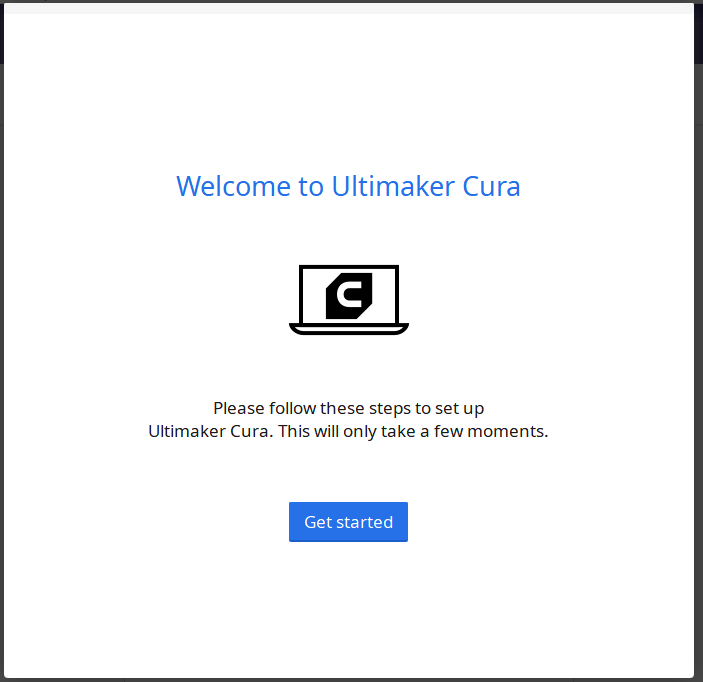
  • After installation, open cura and click on the “get start” option. Then press agrees with the condition and presses the next option.
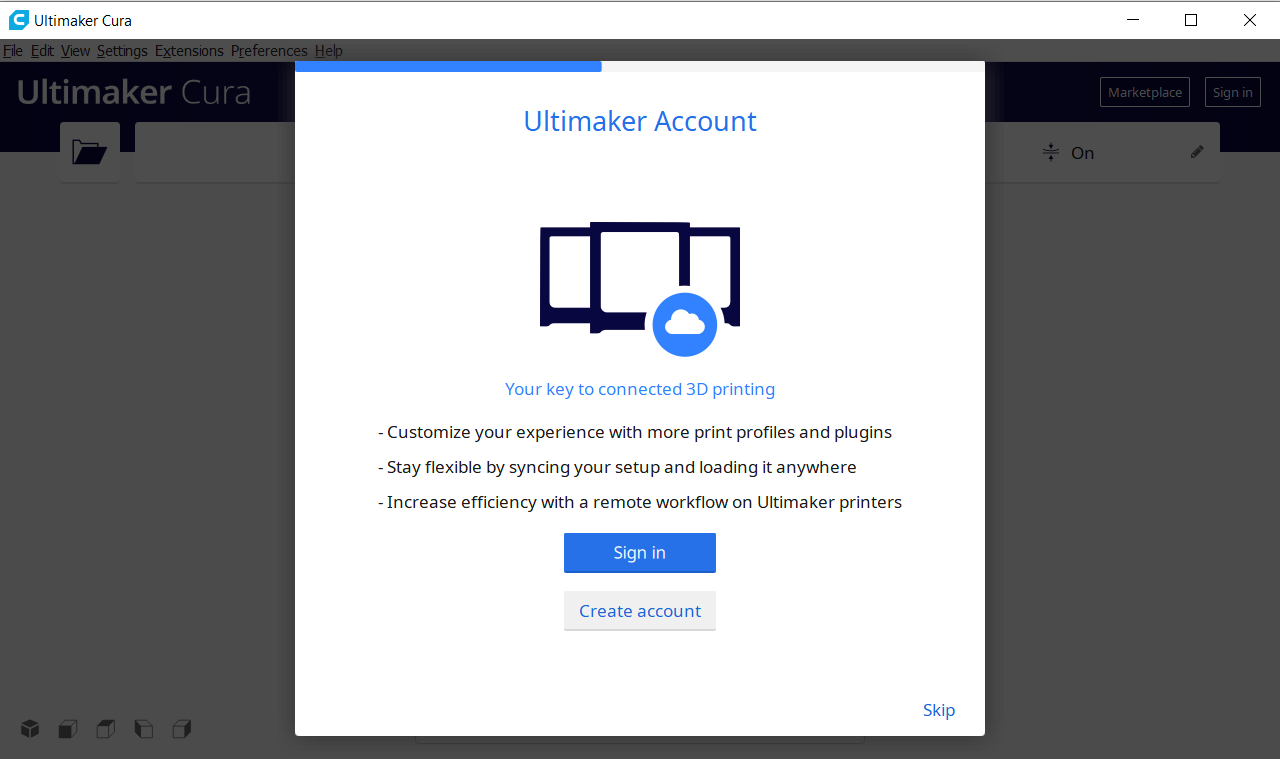
  • It’s not necessary to sign in. you can sign in later if you want. So, click the skip option to save time.


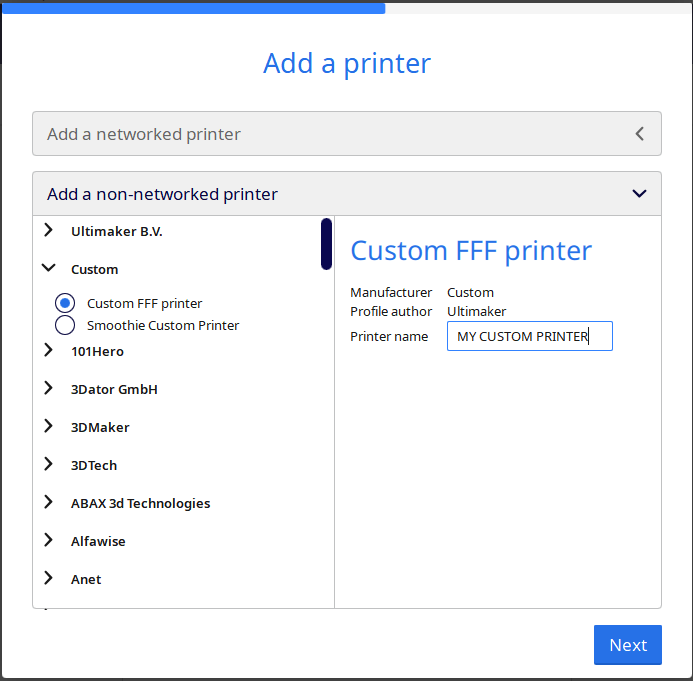
  • Now it’s time to add or choose your printer. Cura provides a huge range of printer lists, but if your FDM printer is not among the list, you can choose the custom setup option. Here I set the printer name as “MY CUSTOM PRINTER” and then click Next.

  • Now add printer dimensions provided by the brand. Here I added x, y, and z dimensions as 200 mm each because the maximum printing dimensions for my printer is 200*200*200 mm. It is required to add a build plate shape and number of extruders. For multiple extruders, you can choose the numbers of them.

  • Now go to extruder1 setting and set nozzle diameter and filament diameter. Generally most commonly used filaments are of diameters of 1.75 mm or 2.85 mm. Nozzle size shows nozzle diameter, which is added as per your requirement. Now click next. 

  • Now your setup is completed and Cura shows a printer interface of your printer. 

  • In case of any change in the printer, like nozzle diameter, filament diameter, etc, the previously added value can be changed under the option setting>printer>manage printer>machine setting.
  • Also to add a newer printer, choose the option setting>add printer.

Comments

Popular posts from this blog

Quenching process

Quenching also called Hardening, is a heat treatment process in which steel is heated up to austenite temperature (above it's critical temperature), hold for some time and then cooled in water, oil or molten salt (rapid cooling). Due to rapid cooling, it results very hard structure - martensite (hardest form of Steel). fig.- steel component quench in oil. Due to hardening process hardness of steel increases and bitterness also increases. (brittleness increases hence hardened Steel nay not directly use). Quenching is always follow by tempering process. Due to rapid cooling in hardening process metal shape shrink, internal residual stresses are setup. That's the reason why hardening is follow by tempering.

What is heat treatment process ?

know the Heat Treatment...! Heat treatment is defined as the operations involving the heating and cooling of a metal or an alloy within a solid-state to obtain desire properties (physical or chemical) without change composition. The heat treatment process is carried out to change the grain size, modified the crystal structure of the material, and relieve the stress set up in the material after hot or cold working. Heat treatment also uses in many manufacturing processes, eg. glass working. The heat treatment process is performed in the furnace or oven with a controlling the environment of step-by-step heating and cooling within a specific period of time, apart from this the gases are used to control the furnace environment in some processes.  Fig.1 - Heat treatment process of gears Heat treatment consists of heating of metal near of above re-crystallization temperature of the material, hold for a particular time, and then finally cooling the metal in some medium which may be air, ...

Basic Fluid properties that every one should know

Various fluids can be differentiated by their fluid properties, some of the basic fluid properties are density, specific weight, specific gravity, viscosity & specific volume. Let's take a look at the properties of fluids one by one in detail. Fundamental knowledge of fluid properties is very essential to learn Fluid Mechanics (FM) subject. Properties of fluid Density or Mass Density Specific Weight or Weight Density Specific Volume Specific Gravity Viscosity 1. Density or Mass Density The density of the fluid can be defined as a ratio of the mass of fluid to the volume of fluid. Hence it can be call mass per unit volume. It is represented by a symbol ⍴ (rho) and the SI unit of density is kg/m³. Mathematically,   The density of water is taken as 1000 kg/m³ or 1 g/cm³. The density of a liquid is considered as constant with the variation of pressure and temperature. 2. Specific Weight or Weight Density The specific weight of fluid can be defined as the ratio of the weight of...